

QNAP environment
Setup
The backup agent relies on two packages:
- DotNet SDK
- Arx One Backup
In order to install those packages, it is required to add two package sources in the AppCenter.
To do this, open the AppCenter parameters and add the following entries:
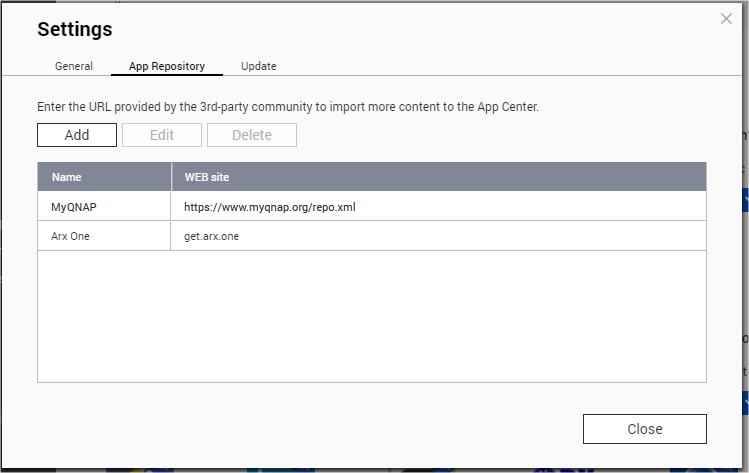
The entries are:
| Name | Web site |
|---|---|
| MyQNAP | https://www.myqnap.org/repo.xml |
| Arx One | get.arx.one |
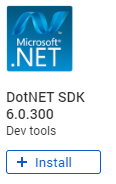
The DotNet SDK package can then be installed from the MyQNAP store, within the dev tools section:
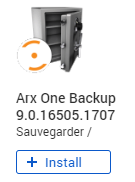
Finally, the Arx One Backup package:
Update
The NAS can be configured to perform automatic updates, in the AppCenter parameters:
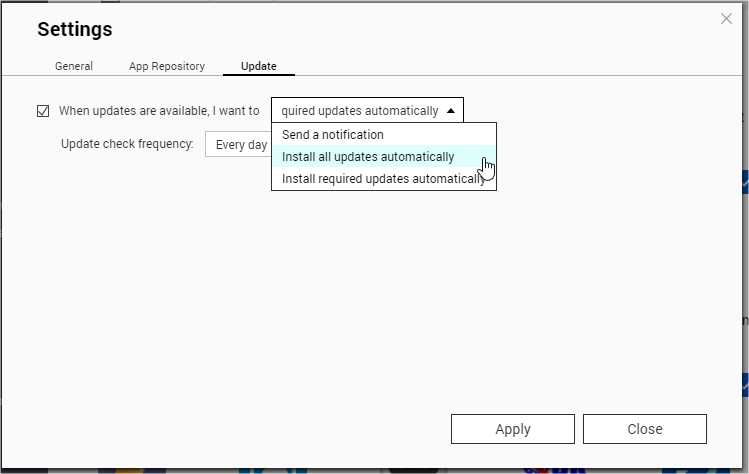
Otherwise, updates will be show when connecting to QNAP user interface.
How to link an account to a QNAP agent
To setup a backup account with a QNAP agent, here is what you need to do:
- Make sure that the backup agent is properly installed and started on the target machine
- Launch the backup management console on a Windows machine
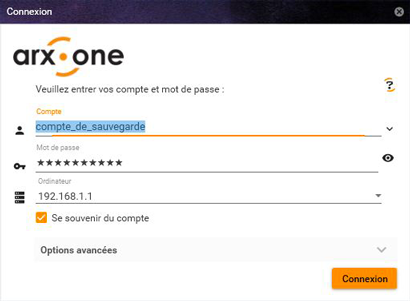
- Fill the Account field in the login dialog with the account name
- Fill the Password field in the login dialog with the account's password
- Fill the Computer field in the login dialog with target machine's IP address
- Click on the connection button
As shown below:
Be careful, this procedure can only be done once. Once the account has been linked to the target machine, you can only change the account by deleting or editing the configuration files.
You can use the console connection procedure for the next connections.